Getting started with the Arduino IDE may seem daunting, but once you’ve got it down, you’ll be able to use it to your advantage. In this article, you’ll learn about installing the software, selecting the proper serial port to connect to your Arduino board, and activating a serial plotter. You’ll also learn how to manage sketches with multiple files and how to create packages for third-party hardware.
Installing the software
Depending on the Arduino board you are using, you will need to install the software for the Arduino IDE. The Arduino IDE application allows you to design and build programs on Arduino boards. You can also use the Arduino IDE to upload code to the board.
The Arduino IDE is easy-to-install an software. You can install it on your computer using an executable or a zip file. Alternatively, you can install the software for the Arduino IDE on a portable flash drive.
Managing sketches with more than one file
Managing sketches with more than one file in Arduino ide isn’t easy. There are a lot of minor errors that can be overlooked. Even if you’ve been doing Arduino programming for years, it’s still possible to miss the simplest mistakes.
For example, if you’re using a library that includes an addTwoInts function, you should know that it takes two integers as parameters. Therefore, the process will return the sum of those two integers.
There are several ways to manage sketches with more than one file in Arduino IDE. One way is to create two files. One for the library and one for the central drawing. This will separate the library from the main graphic and allow you to test and upload the library on a different schedule.
Creating packages for third-party hardware
Creating packages for third-party hardware with Arduino ide requires a little know-how and understanding of the Arduino software. In addition, you’ll need to ensure that you have the correct library version and that it works with the board you’re using.
The Arduino software has a toolbar that allows you to browse for a library and upload a sketch. You can also use this toolbar to add and edit a program.
Libraries make it easy to connect to sensors and displays. They also allow you to extend the capabilities of the Arduino platform. If you are working with hardware not officially supported by the Arduino software, you can create your library. First, however, you’ll need to ensure that your design files are compatible with the Arduino designs.
Activating a serial plotter
Activating a serial plotter with Arduino IDE is a great way to visualize analog signals in real-time. It allows you to monitor, compare, and test sensor readings. You can also use the tool to troubleshoot your code.
First, you will need to download the IDE. You can do so from the Arduino website. After downloading, you must extract the file into a convenient directory. Once you have done so, you should run the IDE. It has five icons on the left side. Then, you will need to tick the “compilation” checkbox.
Fixing encoding and reloading
Using the fixed encoding and reload functionality of the Arduino IDE, you can fix any encoding problems you have. This function works best with the most recent version of the IDE. After installing the latest version, it’s essential to ensure you are on the settings tab of the IDE.
The Fix Encoding & Reload feature is the best way to fix problems with encoding on the Arduino board. The IDE will also tell you how much memory your variables take up. It’s also possible to add your libraries. These are files that contain code and headers.
Selecting the proper serial port to which the Arduino board is connected
Whenever you upload a sketch to the Arduino board, you will need to select the correct serial port to which the board is connected. If you choose the wrong port, your upload will fail. This will require you to do a few different things.
First, you must open the board selector. This is found in the IDE’s Tools menu. Once you select the board, you will see a list of ports. You should note all of the ports. You should also note the name of each port.
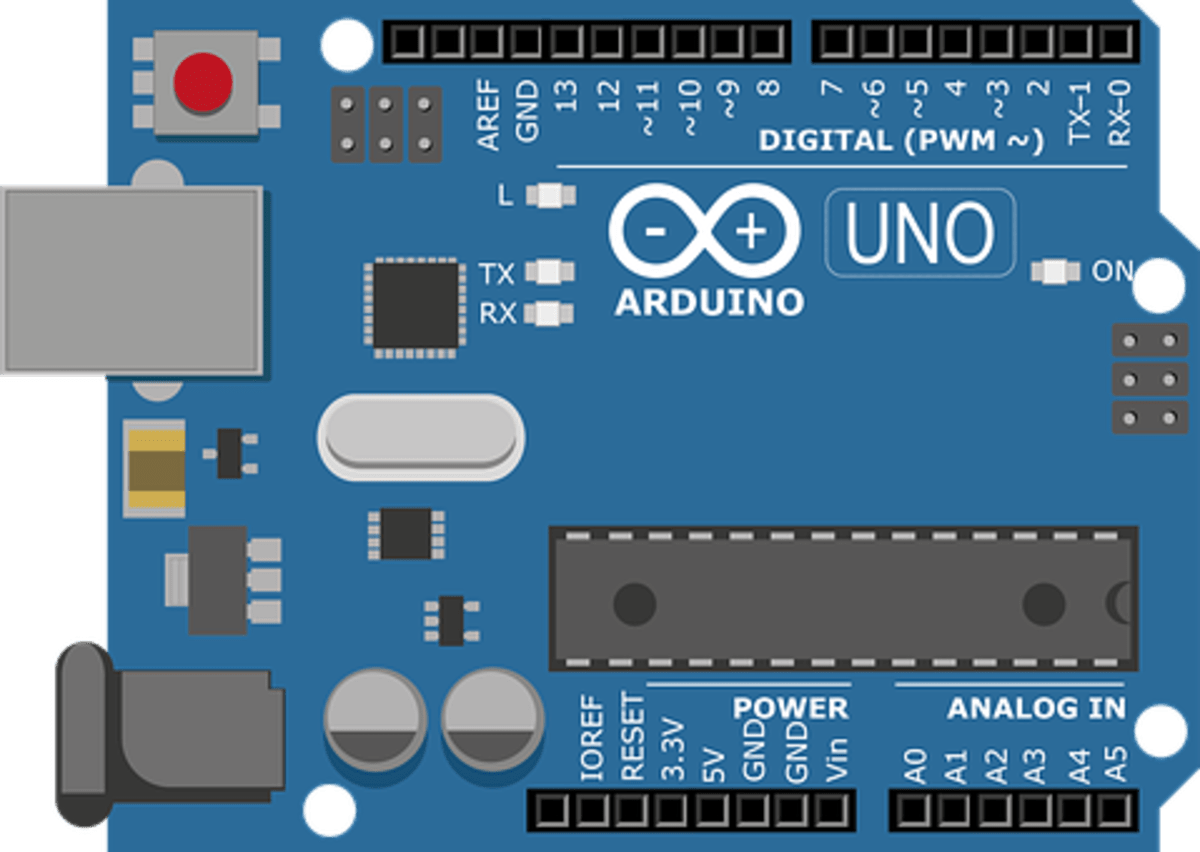
Getting started with Arduino
Getting started with Arduino IDE is very easy, and you can use it to build various projects. However, you may need some help with some of the basic steps. The good news is that you don’t need to invest in expensive boards to start, and with some guidance, you can get started immediately.
You’ll need a computer and a USB cable. You’ll also need to install the Arduino software. You can download it from the Arduino website.
Once you’ve installed the software, you’ll need to connect your Arduino board to your computer. Again, you’ll want to use a USB B cable for this.